Mezink aims to help you grow as a content creator, influencer, and marketer. We have made it easier for creators to produce content, increase their followers, generate leads, and sell their products effectively. We
Following our mission, we now allow you to create forms on your Mezink landing page. You can collect contact information of your followers with the help of this brand-new feature.
If you want to reach out to your followers to pitch your products, you can create a form to collect their contact information, and help your marketing and sales team to connect with them. Forms can be used for many other purposes, such as to subscribe to your newsletter, email list, sign up for a deal, and the list goes on and on.
This blog guides you on how to create forms on your Mezink profile –
- If you do not have the Mezink Linktree alternative app yet, download it on your phone. The app is available on Google PlayStore and Apple App Store both.
- Once the app has been downloaded, it is time to set it up on your phone. Allow permissions and sign up or sign in with your Google account. And you will see the following screen.
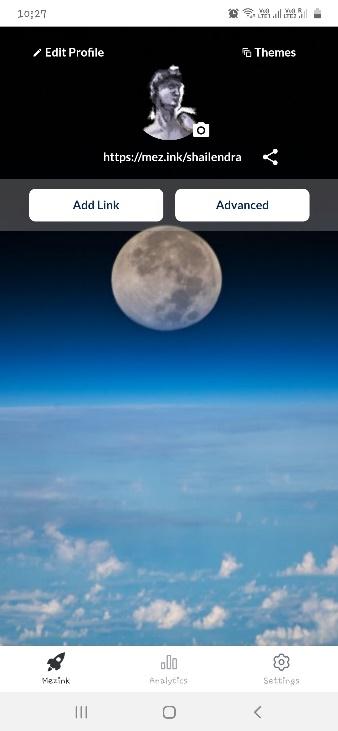
Here, you can customize your Mezink URL to suit your content type or match with your brand. You can also change your profile and background pictures on this page.
- Click or tap on the button “Advanced”. And you will reach the screen below –
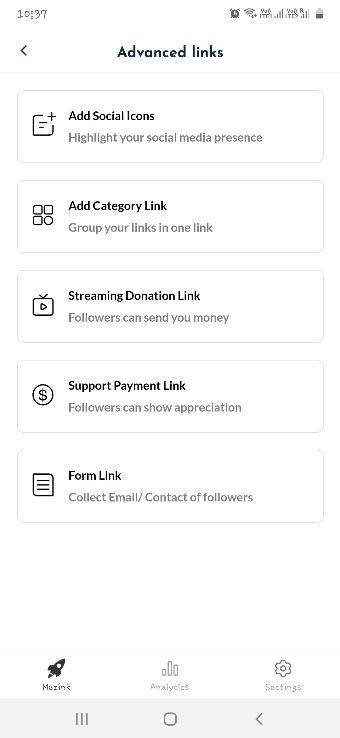
You will see Mezink’s new features on this page.
- Locate the “Form Link” panel on this page and tap on it. And you will see the screen shown below.
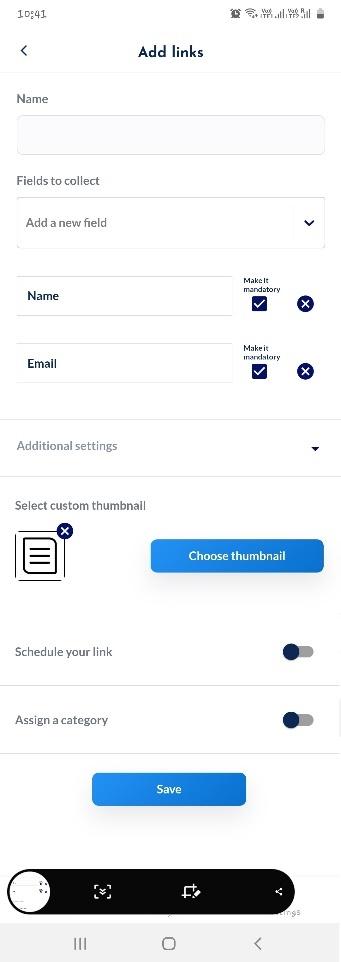
You can customize this predesigned form as per your requirements. Let’s start filling and customizing this form.
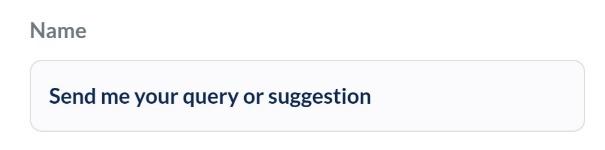
- Fill the form name. I chose “Send me your query or suggestion”. This will be the name of the form on my Mezink profile.
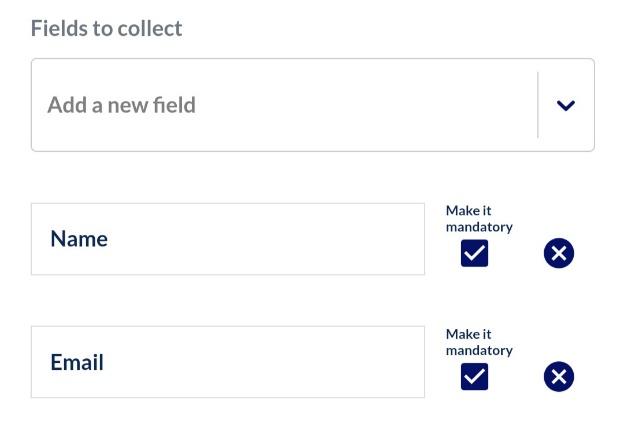
- You will notice that there are already two boxes or fields in the form – “Name” and “Email”. These are the information that the user will provide while filling up the form. These are the pieces of information that most marketers want to collect from their users.
However, you can add more fields or boxes to collect more information from your audience.
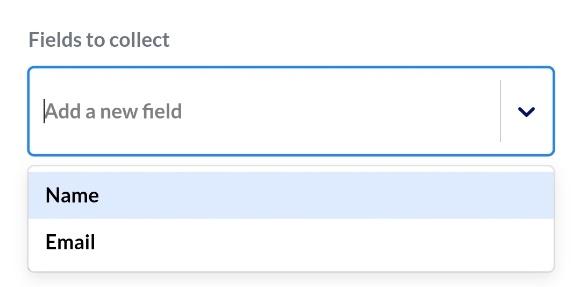
- Tap on the box that says “Add a new field” to add a new field name.
I added another field called “Phone number”, as I wanted to speak to my prospects. As you enter the name of the field, you will see the option to create that field in your form.
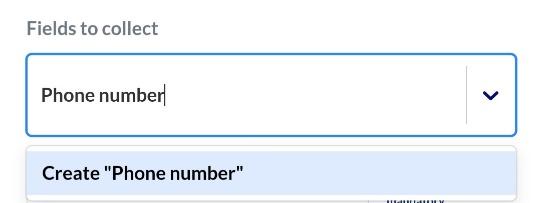
I tapped on “Create Phone number”. And then, a new field appeared on my form.
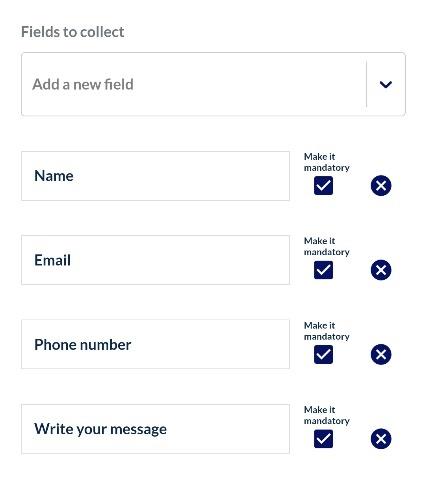
Now the user will be able to provide his/her phone number.
This way, you can create more fields to collect more information from your visitors. I added another field to allow users to send me their messages, queries or suggestions. It looked like this –
- You also have the option to mark any field as mandatory by ticking the box next to it. If a field is mandatory, the user won’t be able to submit his/her form without filling it.
- You can delete any field by tapping on the (x) icon next to the tick box.
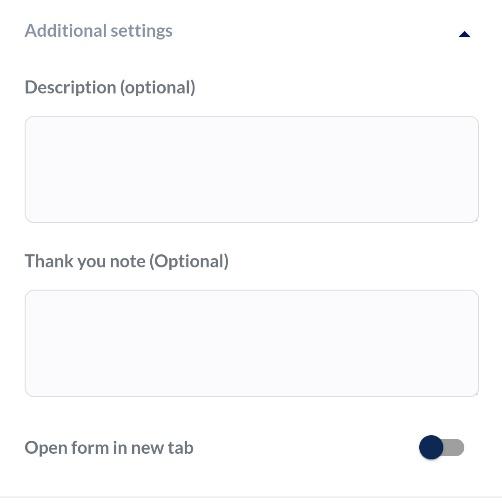
- Moving further, tap on the “Additional setting” panel to access more options.

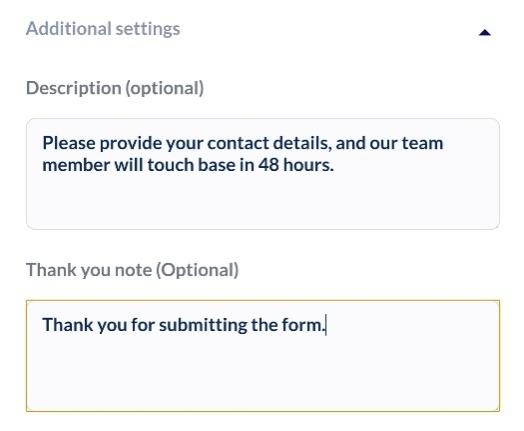
You have the option to add a description to the form, and a thank you message that the user will see after completing or submitting the form.
I added a description and a thank you message, as shown in the picture below –
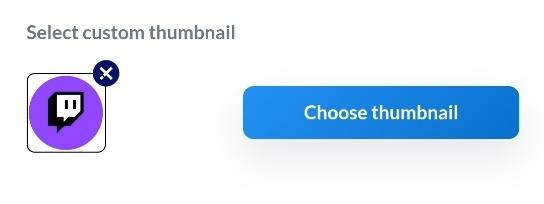
- You can also choose a thumbnail for your form to customize its look on your Mezink landing page.
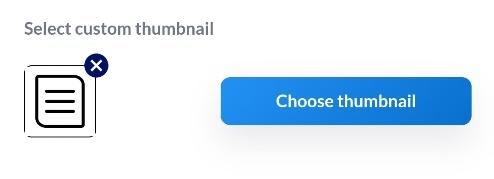
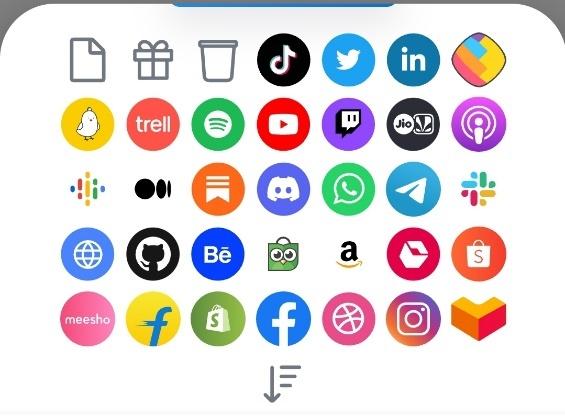
Tap on the button “Choose thumbnail”, and you will see a list of predesigned icons. Choose an icon you want.
You will see that your form now has a thumbnail.
- You can also make your form visible for a certain period. For this, you will need to tap on the panel below –

After turning on the lever, you will see the following screen –
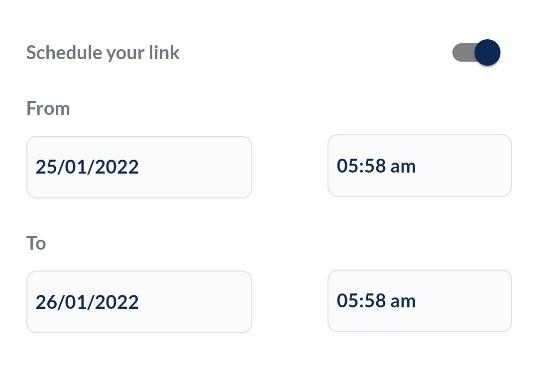
You can select the date and time as per your requirement. I kept this lever turned off, so my audience will see this form until I take it down.
- You can also assign this form a category.
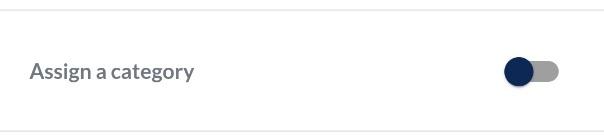
It will help especially if you have so many links and categories on your Mezink profile.
- All set? You are now ready to publish this form on your Mezink landing page. Tap the “Save” button at the bottom of the interface to publish your form.

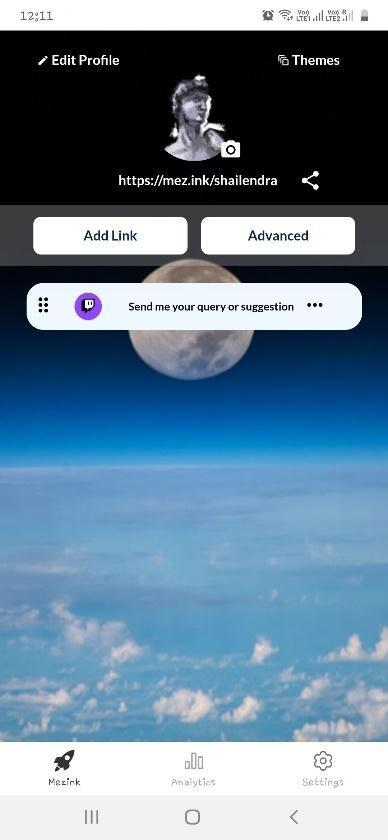
- This is how your Mezink Profile or Landing Page will look to you after this form is live.
This is how your users will see your Mezink profile after landing on it.
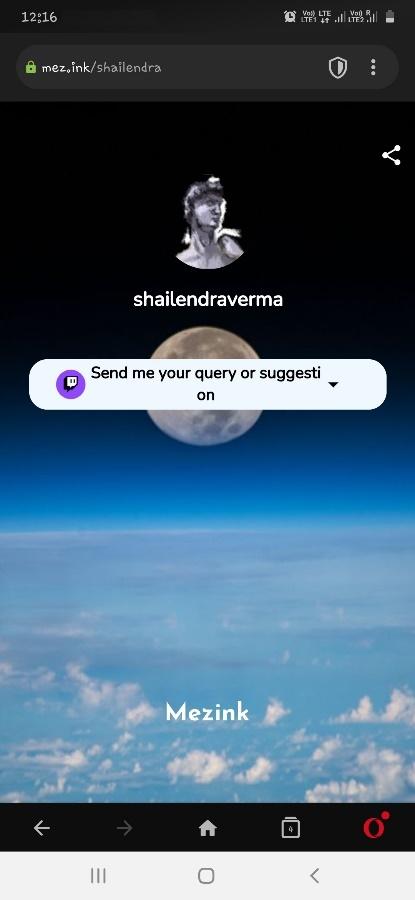
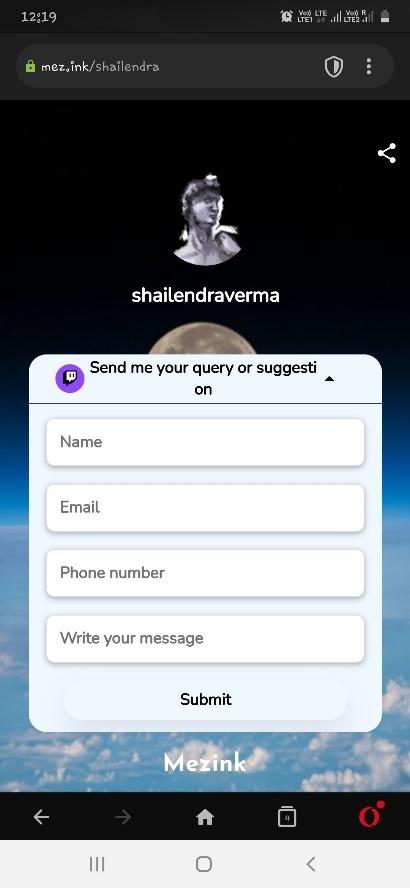
And this is how the users will see the form.
Need more help setting up forms on your Mezink profile? Drop a comment below or contact us via your Mezink app!
Don’t have Mezink app on your phone? Download it now for free!